
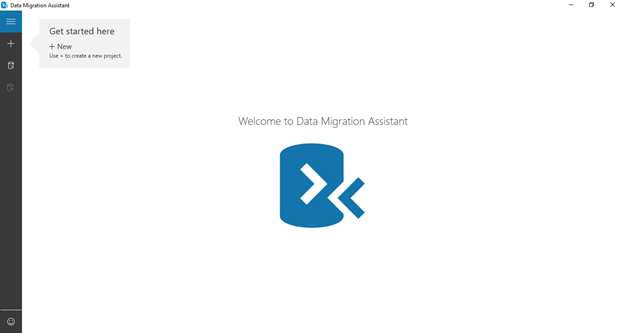
Step 1: Download data migration assistant from Microsoft and open the tool, then click on plus sign.
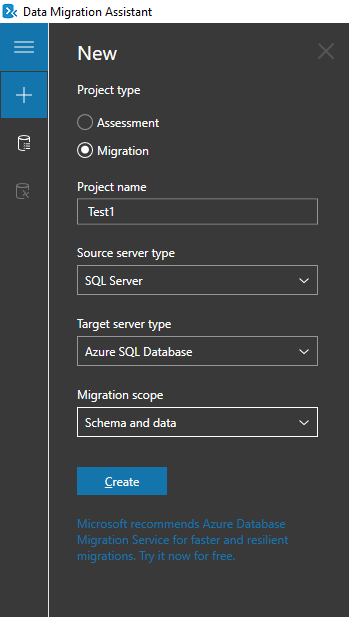
Step 2: Next, choose the project type in my example I am using migration. Give any name for the project and click on source server type as sql server and target server type as azure sql databases and migration scope as schema and data, click on create.
Step 3: Next, connect to the source server and give the instance name. Authentication username & password, then click on connect.

Step 4: After connecting to the instance choose the database with you want to migrate and click next.

Step 5: Now, connect to the target server, enter the server name from azure and give the authentication username & password, and click on connect.
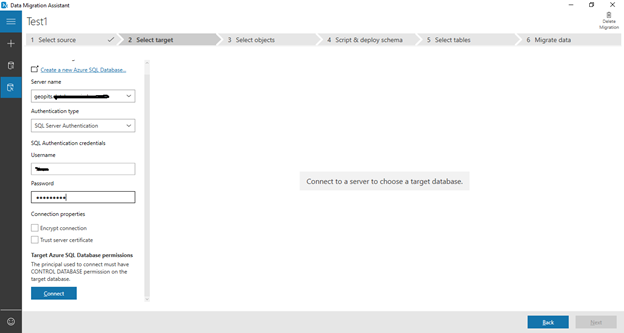
Step 6: Once connected to the azure databases, choose the database where you want the data to be migrated then click next.

Step 7: Now, choose the tables and users for migration. In my example I choose all the available tables for migrating and click on generate sql script.

Step 8: Next click on deploy schema for the generated script.
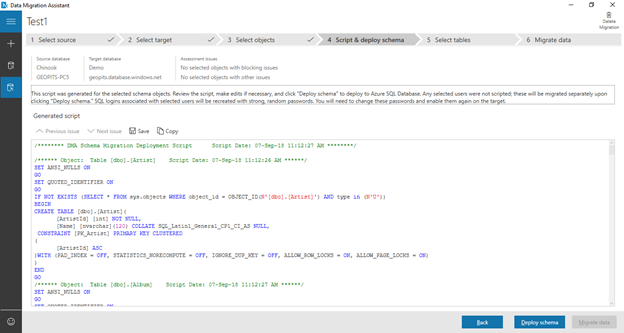
Step 9: Next, we will get all the information regarding the table from we can choose the tables, which we need for migration and click on start migration.

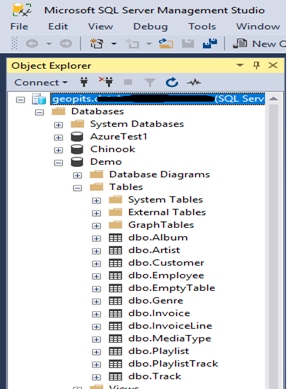
Step 10: Finally, we can see the progress of successful migration of data. We can double check by connecting to azure databases through SSMS.

Contact GeoPITS in case of any cloud migration from On-premise to Azure/AWS Managed instance.
Further reading
If you found this article helpful, you might want to check out these related resources,


